How to Install a Strap Button (or Lock)
What You’ll Need
-
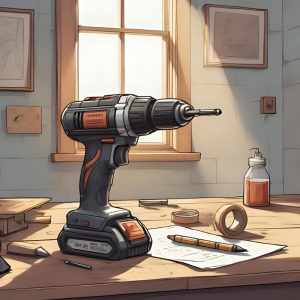
A drill
-
Appropriately sized drill bit
-
Masking or gaffer tape
-
Pencil (for marking)
-
Screwdriver
-
Felt washers (if your buttons include them)
1. Pick the Perfect Spot
First things first: where do you want that strap button or lock?
-
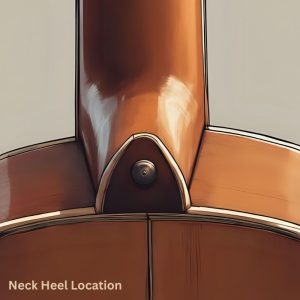
Neck-heel location – on electric guitars, this is typically on the treble side of the heel, or a bit around the back edge if you’re a high-fret warrior. Choose a spot with plenty of wood behind it—you’re aiming for sturdy, not punch-through.
-
Endpin location – at the bottom of an acoustic (or electric). Center it well and look for a solid wood block beneath so your screw has something substantial to grab onto.
Tip: Draw right on the guitar with pencil, or stick on some tape and mark it there—you protect the finish and still hit the bullseye.

2. Drill a Pilot Hole Like a Pro
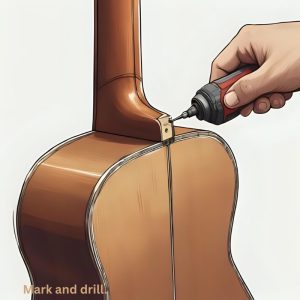
You’ve marked your spot—now for the pilot hole:
-
Choose the right drill bit: not too big (won’t hold), not too small (hard to insert screws).
-
Put a bit of tape on the bit to mark your drill depth—match this to the screw length.
-
Drill slowly and steadily; slip-ups here can lead to slipping drills or crooked holes. Aim straight and controlled.
3. Screw in the Strap Button
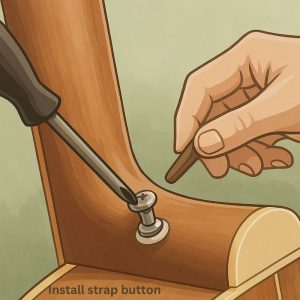
Once your pilot hole’s ready:
-
Feed the screw through the button and any felt or washer provided.
-
Gently hand-tighten using a screwdriver—avoid using power tools that can over-tighten and crack your finish.
-
If it’s stubborn, the hole might be too small—double-check your bit size.
4. Installing a Strap Lock? Same Drill, Slight Twist
-
Unscrew the old button and swap in your new strap lock base. Same hole, same technique.
-
Be aware: new screws might be a different size. If the new screw is thinner, it’ll wobble—either redrill to fit or reuse the old screw. If it’s fatter, you’ll need a bigger hole.
5. Strap Lock Assembly: Button + Strap Piece
If you’ve gone for locking hardware:
-
Take the little metal piece that comes with your strap-lock kit and slot it into the end of your strap.
-
Fit both ends: usually, two metal halves clamp your strap’s leather or fabric securely with a nut or spring.
-
Attach each to your buttons, and you’re golden—no strap slipping or surprises mid-song.
6. Quick Fix: Loose Strap Button?
Sometimes springing for new hardware isn’t necessary—try this classic luthier trick:
-
Remove the loose button.
-
Jam a wooden toothpick (or two) into the hole with a dab of super-glue.
-
Snap off the excess so it’s flush.
-
Screw the original button back in—now it’s tight again.
Simple, quick, and if done right, rock-solid.
Wrapping It Up
✅ Scout the location carefully—heel or bottom, always on firm wood.
✅ Drill a good pilot hole—size matters.
✅ Hand-tighten the button—no power tools, no stripped heads.
✅ Upgrade to locks? Mind screw differences and pair with proper strap hardware.
✅ Fix stripped holes with toothpicks and glue before drilling again.
If all this feels dicey, don’t hesitate to reach out to a guitar tech.
Why It Matters
A secure strap button (or lock) means you’re free to move without fear of dropping your beloved instrument mid-gig. It’s a small upgrade that gives huge peace of mind. With just a few tools and a little care, you’ll be strapping in like a pro—and rock with zero worries.
Links You may find useful…